How To Create A Wix Ecommerce Website In 9 Easy Steps
Are you thinking about starting your own online store? Maybe you’ve got a cool product you want to sell, or you’re ready to grow your business online.
Either way, you’re in the right place! We’re here to help you learn how to make an awesome online store using Wix! Firstly, Wix stands out as a user-friendly website builder. It’s not just popular; it’s incredibly easy to use. You don’t need coding skills – even your grandma could create a website with its intuitive drag-and-drop interface.
What’s more, Wix offers a wide range of customizable templates. Whether you envision a whimsical design fit for a unicorn or a sleek and professional look, Wix has templates to match your vision.
And the best part? Wix is budget-friendly. With various pricing options, including a free plan, you can launch your ecommerce site without breaking the bank.
Now, let’s explore the ecommerce tools that make Wix shine. Wix boasts a robust set of features designed to simplify online selling. Need a shopping cart? Payment gateways? Inventory management tools? Wix has you covered.
And here’s the icing on the cake: Wix ensures your website is optimized for mobile devices. In today’s mobile-centric world, having a site that’s mobile-friendly is essential for reaching a wider audience.
Still not convinced?
Consider this: even your mom is likely shopping on her phone these days. With Wix, you can tap into this trend and make your ecommerce venture a success.
Now, I know what you’re thinking – “How do I even begin?” Don’t worry, my friend, I’ve got you covered. In this comprehensive guide, we’ll walk you through the process of setting up your Wix e-commerce website step by step, ensuring you have all the tools and knowledge you need to succeed.
So, grab your coffee,
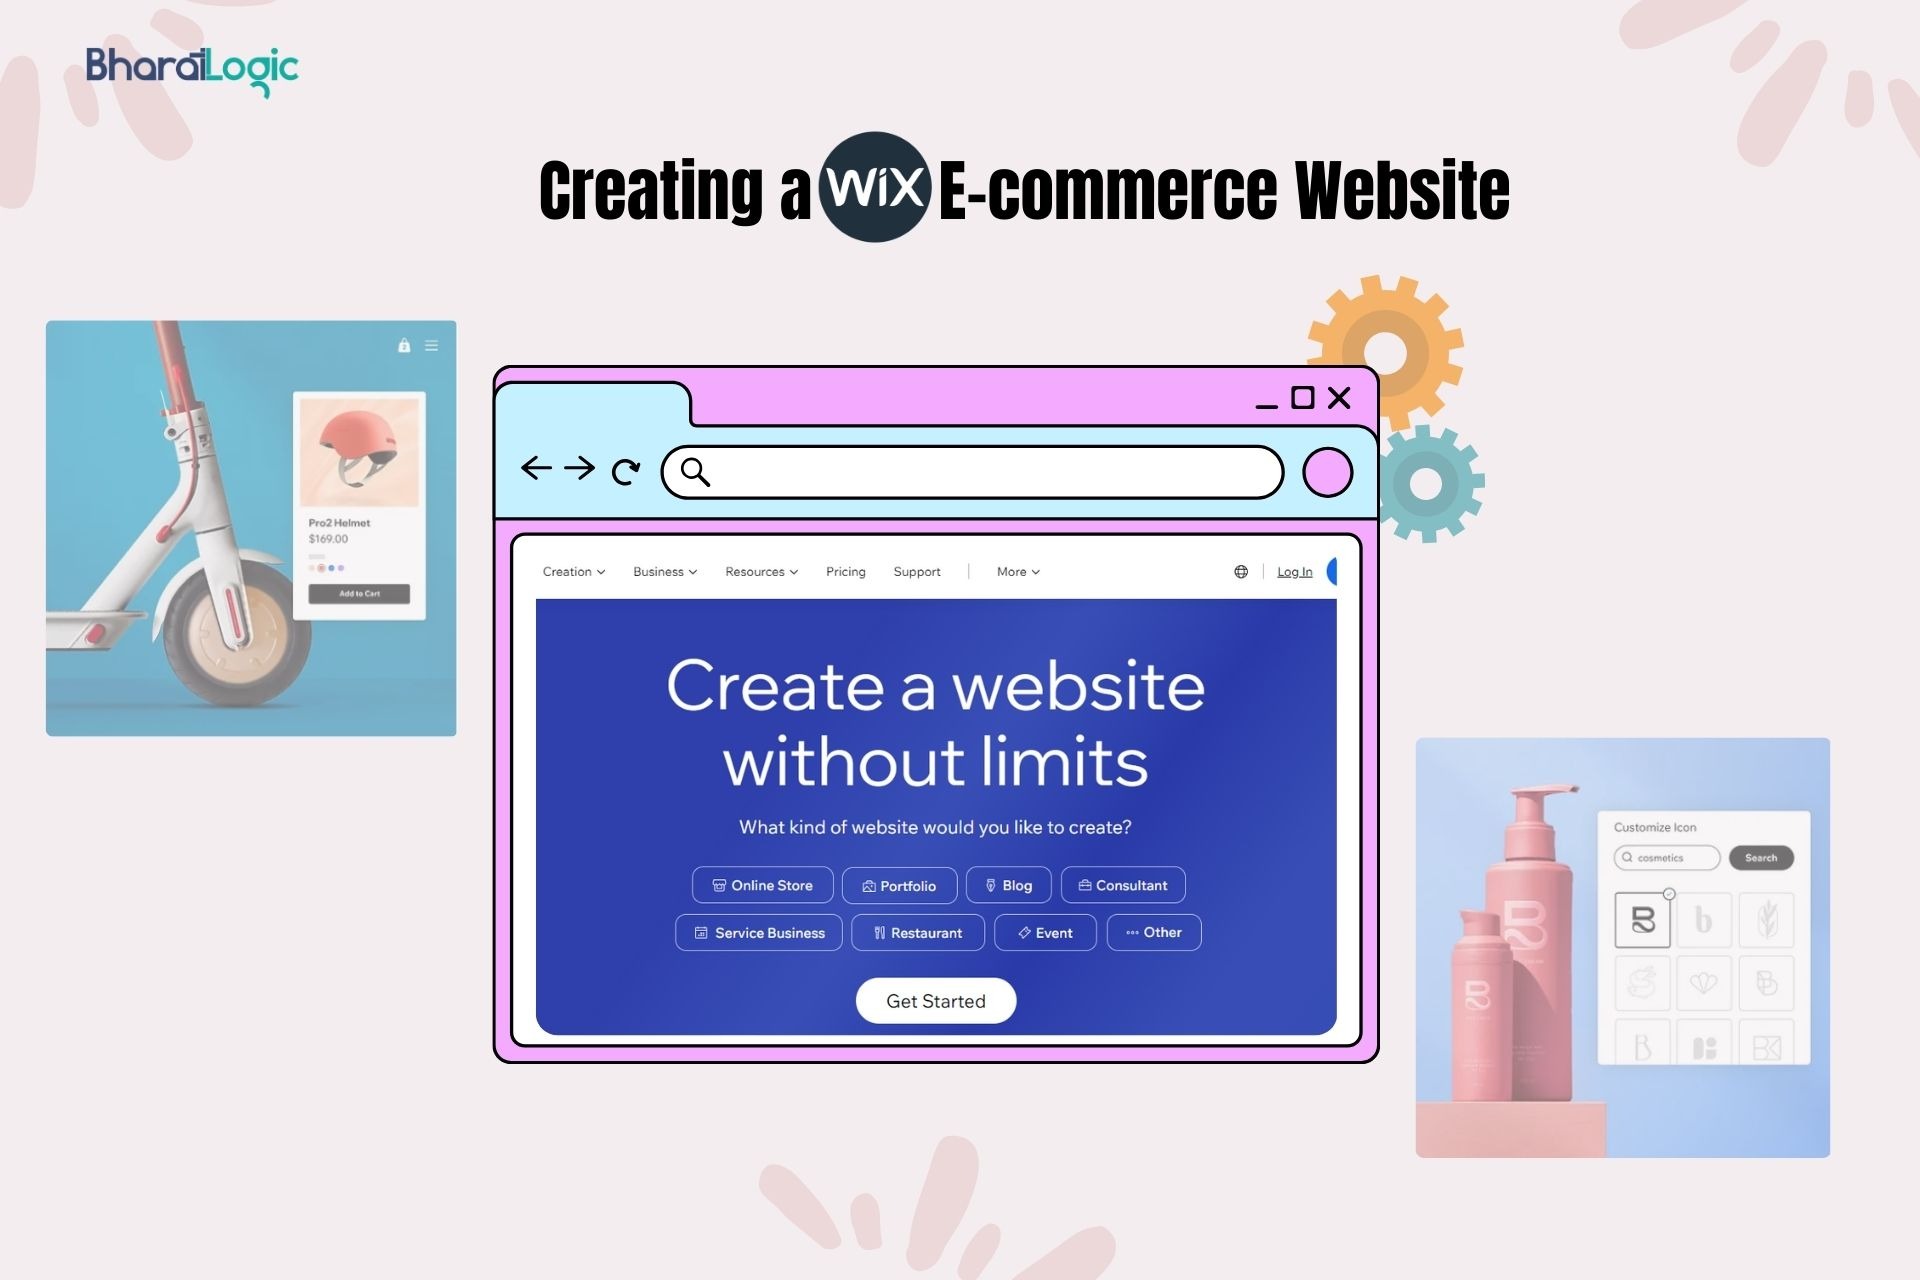
Step-by-Step Guide: Creating a Wix Ecommerce Website.
Step 1: Sign up for Wix To start, you need to create an account on Wix. It’s as easy as pie.
You can begin with a free account, which gives you a solid foundation to build on. Or, if you’re ready for more features, consider one of the premium plans.
Step 2: Choose a Template
Once you’ve completed the sign-up process on Wix, your next step is to choose a suitable e-commerce template for your website. This is where your creativity comes into play! Wix offers a wide range of templates designed specifically for e-commerce websites.
About The Templates
You’ll find various options to browse through, each catering to different industries and design preferences. When selecting your template, consider factors such as brand alignment, user-friendly layout, mobile responsiveness, customization options, and scalability.
By carefully considering these factors and exploring Wix’s diverse template collection, you can find the perfect template to kickstart your e-commerce journey.
Step 3: Customize Your Template
After selecting your preferred template, it’s time to customize it according to your brand and business needs. Wix provides an intuitive drag-and-drop editor that allows you to easily customize every aspect of your website.
Custom Templates According to your Needs
From changing colors, fonts, and images to rearranging page layouts and adding new sections, the customization options are virtually endless. Take this opportunity to reflect your brand identity and create a visually appealing online store that resonates with your target audience.
Experiment with different design elements until you achieve the perfect look and feel for your e-commerce website.
Step 4: Add E-commerce Features
Add features such as product galleries, shopping carts, and secure payment gateways to streamline the shopping experience for your customers. Additionally, consider implementing features like inventory management, order tracking, and customer accounts to enhance the functionality of your e-commerce website.
With Wix’s intuitive interface, you can seamlessly integrate these features into your site and provide a seamless online shopping experience for your customers.
Step 5: Add Your Products
Once your e-commerce features are set up, it’s time to add your products to your Wix website. Create product listings for each item you plan to sell, including clear and compelling product descriptions, high-quality images, and accurate pricing information.
Product Page Setup
Organize your products into categories or collections to make it easy for customers to browse and find what they’re looking for. With Wix’s intuitive product management tools, you can easily update product information, track inventory levels, and manage orders directly from your website’s dashboard.
Take advantage of Wix’s customizable product pages to showcase your products in the best possible light and entice customers to make a purchase.
Step 6: Set Up Payment and Shipping Options
With Wix, you can integrate a variety of payment gateways, including PayPal, Stripe, and Square, to accept credit card payments securely. Choose the payment methods that best suit your customers’ preferences and your business needs.
Shipping Methods
Additionally, you’ll need to set up shipping options to determine how orders will be delivered to your customers. Wix offers built-in shipping tools that allow you to calculate shipping rates based on factors like weight, destination, and shipping method. You can offer various shipping options, such as standard shipping, expedited shipping, or local pickup, to accommodate different customer needs.
By configuring payment and shipping options effectively, you can streamline the checkout process and provide transparency and convenience to your customers, ultimately driving sales and fostering customer satisfaction.
Step 7: Connect Domain
Connecting a domain gives your website a professional touch and enhances brand credibility. With Wix, the process of connecting a domain is straightforward.
Domain Selections
First, navigate to the Wix dashboard and select the “Domains” option. From there, you can either connect an existing domain that you own or purchase a new domain directly through Wix. If you choose to connect an existing domain, you’ll need to update the domain’s DNS settings to point to Wix’s servers.
After confirming your domain connection, Wix will automatically handle the technical aspects, ensuring that your website is accessible via your custom domain name. Once the domain is connected, you can promote your website with confidence, knowing that customers can easily find and access your online store using your branded domain.
Step 8: Test Your Website
Before launching your e-commerce website to the world, it’s essential to thoroughly test its functionality to ensure a seamless user experience. Testing your website helps identify any potential issues or bugs that could deter visitors or affect sales. You can take reference from here about website structure.
Make Website Responsive
Start by navigating through your website as a customer would, exploring different pages, adding products to the cart, and proceeding through the checkout process. Test all interactive elements, such as buttons, forms, and navigation menus, to ensure they work correctly.
Additionally, check for responsiveness across various devices, including desktops, laptops, tablets, and smartphones. Your website should adapt seamlessly to different screen sizes to provide an optimal viewing experience for all users.
Pay close attention to the checkout process
Ensuring that it’s intuitive and straightforward. Test payment gateways to confirm that transactions process smoothly and securely.
Lastly, enlist the help of friends, family, or colleagues to perform user testing and provide feedback from an outsider’s perspective.
Address any issues or concerns raised during testing to refine your website before its official launch. By thoroughly testing your website, you can ensure a positive user experience and set the stage for a successful online store.
Step 9: Launch Your Website
After thorough testing and refining, it’s time to launch your e-commerce website and make it live for the world to see. Launching your website is an exciting milestone in your online journey, marking the beginning of your e-commerce venture.
Before launching, double-check all aspects of your website to ensure everything is in order. Verify that all product listings are accurate and up-to-date, payment and shipping options are configured correctly, and all website functionalities are working smoothly.
Publish your Website
Once you’re confident that your website is ready for launch, it’s time to hit the “Publish” button. Depending on your website platform, this process may involve simply clicking a button to make your website live or following specific steps provided by your hosting provider.
After launching your website, monitor its performance closely in the initial days to identify any unexpected issues or challenges. Keep an eye on website traffic, user interactions, and sales data to gauge the effectiveness of your e-commerce strategy.
Adding Social Media Channels
Don’t forget to promote your newly launched website through various marketing channels, including social media, email newsletters, and digital advertising. Spread the word about your online store to attract potential customers and drive traffic to your website.
Some digital marketing services that can help you achieve your goals include search engine optimization (SEO), content marketing, social media marketing, email marketing, and pay-per-click advertising. These services can help drive traffic to your website, improve your search engine rankings, boost your online presence, and ultimately increase your online sales. Don’t hesitate to invest in professional digital marketing services to maximize the potential of your e-commerce business.
Conclusion
“Alrighty, folks, it’s time for the grand finale!”
Creating a Wix ecommerce website can truly elevate your business to new heights and expose it to a wider audience. With Wix’s intuitive platform and abundance of e-commerce features, you can achieve this goal effortlessly, without putting a strain on your finances.
By diligently following the step-by-step guide and incorporating the valuable insights we’ve provided, you’ll be able to establish a formidable online store that will leave your competitors envious in 2024.
So, seize the opportunity, my friends, and embark on the journey to build the e-commerce empire you’ve always envisioned! If you’re planning to create one for your business, BharatLogic can help you.
Yes, Wix provides customizable templates that allow you to tailor the design and layout of your ecommerce website to suit your brand and style preferences.
Adding products to your Wix ecommerce website is easy. Simply navigate to the product management section and follow the prompts to upload product images, descriptions, and pricing details.
Wix offers various payment gateways and shipping integrations, allowing you to provide multiple payment methods and shipping options to your customers for a seamless shopping experience.
Before launching your Wix ecommerce website, thoroughly test all its functionalities, including product browsing, checkout process, and payment gateway integration, to ensure a smooth user experience.
Once you’ve customized your website, added products, and set up payment and shipping options, you can launch your Wix ecommerce website with confidence, making it live for customers to visit and shop.